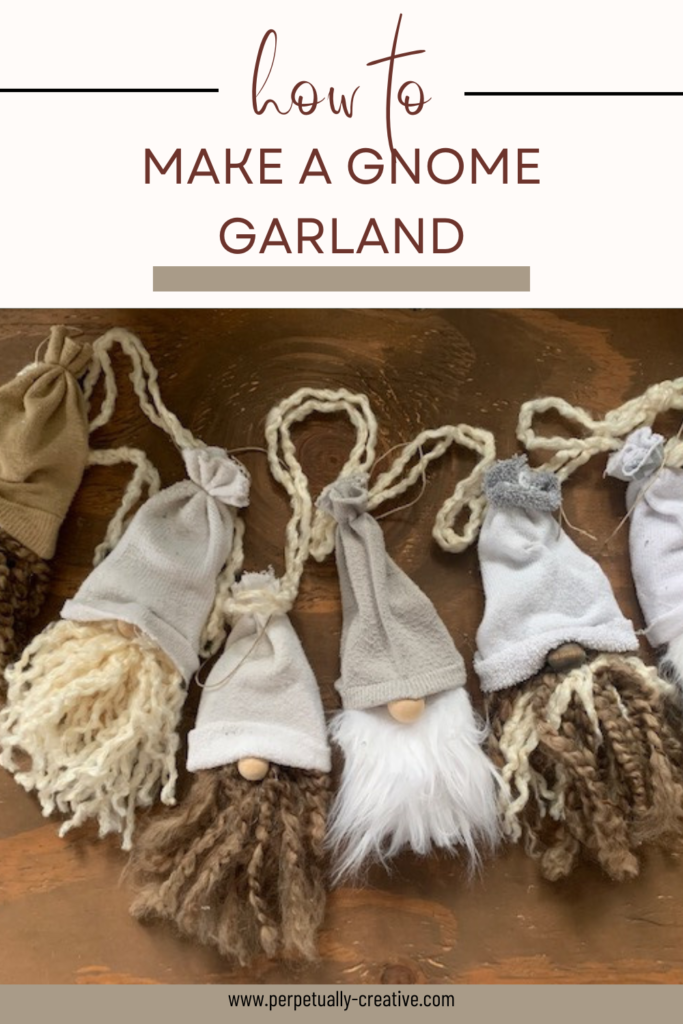
How to Make a Gnome Garland
Love gnomes? Follow along and find out how to make a gnome garland. These gnomes are not only easy to make but many of the supplies are budget friendly or even better, you may already have some items on hand.
There are so many different ways to create gnomes and I feel like once you make one, the creativity kicks in and you’ll come up with other ideas to create more.
Gnome Garland
This garland is one that I created a few years ago during the covid lock down. I was in a creative mood to make something and since we couldn’t leave the house, I used what I had on hand. You could easily swap the supply items for something similar. Such as, cardboard instead of wood, pompoms instead of wood beads and felt instead of socks.
Supplies:
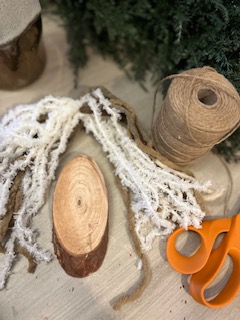
- Wood slices
- Yarn
- Twine
- Wood beads
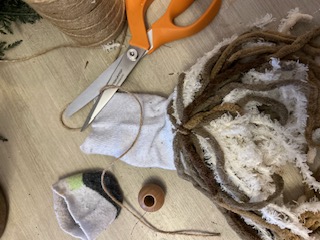
- Socks
- Glue: Craft or Hot
- Scissors
Yarn

This yarn is from Hobby Lobby and similar to what I used for my gnomes beards. I love thick nubby yarn!
Be creative and try something other than yarn such a sisal rope, macrame cord or raffia.
Wood
I used wood slices that I had bought from JoAnn Fabric quite awhile ago. They are around 3″-4″long and about 1/4″ thick. You can find wood pieces available at most craft stores such as, Hobby Lobby, Michaels and Dollar Tree’s craft section. Also, Amazon has a pack of 20 wood slices for $8.99. Again, you can use cardboard and cut to the size you want.
Wood Beads
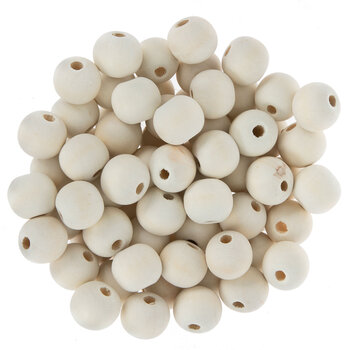
I used wood beads from Hobby Lobby for the noses.
They cost less than $2.50 for a pack of 75. I bought them when there was a 50% off sale.
*Always watch for their 50% off sale weeks.
Let’s begin creating a gnome garland!
Yarn Beards
For the beards I used thick nubby yarn I had, I love the texture it gives the beards. I also had some scrap fur fabric from a previous project.
If you don’t have these items on hand look at thrift stores for both yarn and fur. Also check dollar stores. Again, check when Hobby Lobby’s has their 50% off sale days. Even if you make several gnomes, the cost will be minimal for the yarn and fur, the amount you will be using is not much.
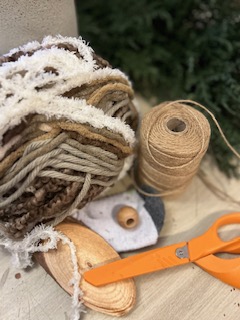
How to begin creating your gnome
- Assemble your supplies.
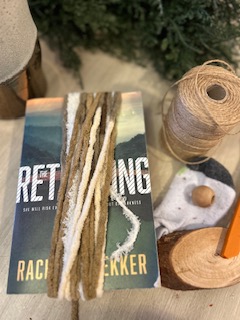
- To create the beard I wrapped my yarn around a book about 20 times. Using a piece of yarn, go under the top loop and tie with a knot. Gently pull the loop off of the book and cut the loop at the bottom. The picture on the right shows what the yarn looks like.
- If you have fur, measure the width of the wood and add a little extra so you’re able to wrap around to the back.
Assemble~The fun part
- Using a hot glue gun or craft glue, glue the ‘beard’ half way down the wood piece. I glued the center of the yarn onto the wood to make sure it layed even. The yarn fell into place to create the look of a beard.
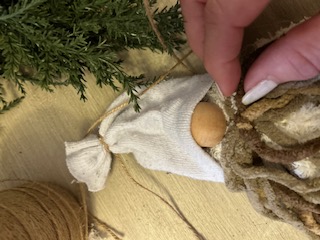
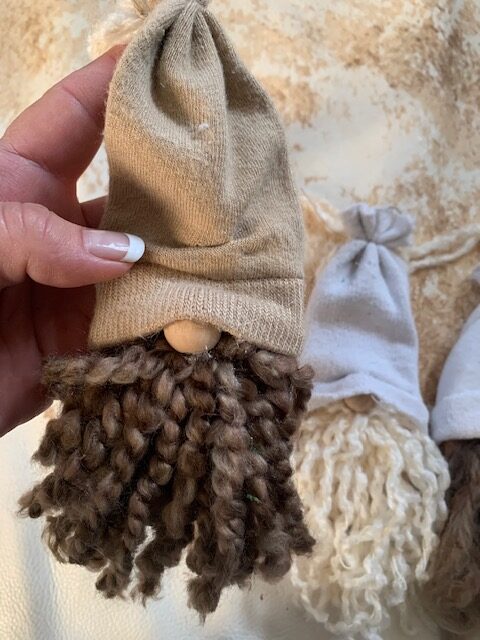
- Put the sock ‘hat’ on the upper part of the wood, pull it down to the beard. My socks fit snug and I didn’t need to glue. Depending on your sock you may or may not need to add a dab of glue. Leave a small area in the middle for the nose.
- Cut a section off of the socks toe. Using a piece of twine, create the top of the hat by tying off a small section of the sock. I went about an inch down.
- Tuck the wood bead under the hat and cover slightly, just so it’s peeking out. When you have it where you like it, add a dab of glue on the bead and press the hat down. Lift the bead slightly and add another dab of glue on the bottom and press into the beard.
Make sure everything is secure and the last part of your cute little gnome is trimming the ‘beard.’
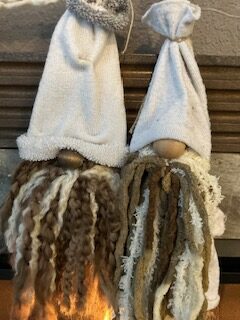
Trim the bottom of the beards to whatever length that you like. I wanted each of my gnomes different so I trimmed each of their beards at various lengths.
Finished Gnome DIY
There you have it…simple gnomes to add to your decor. I tied all of mine onto a piece of yarn for a garland to hang by my fireplace, but these would be super cute as ornaments, hung from a doorknob, a hook or propped up on a shelf.
This is such a fun project that doesn’t require a lot of time or money. I hope you enjoyed learning how to make a gnome garland!
The best Christmas gift is to realize how much you already have.